TOP UP NIKKE ON UUTOP
- 100% Authentic — Sourced from trusted global publishers.
- Instant Delivery — Automated delivery in seconds.
- 24/7 Support — Multilingual help anytime.

 EN


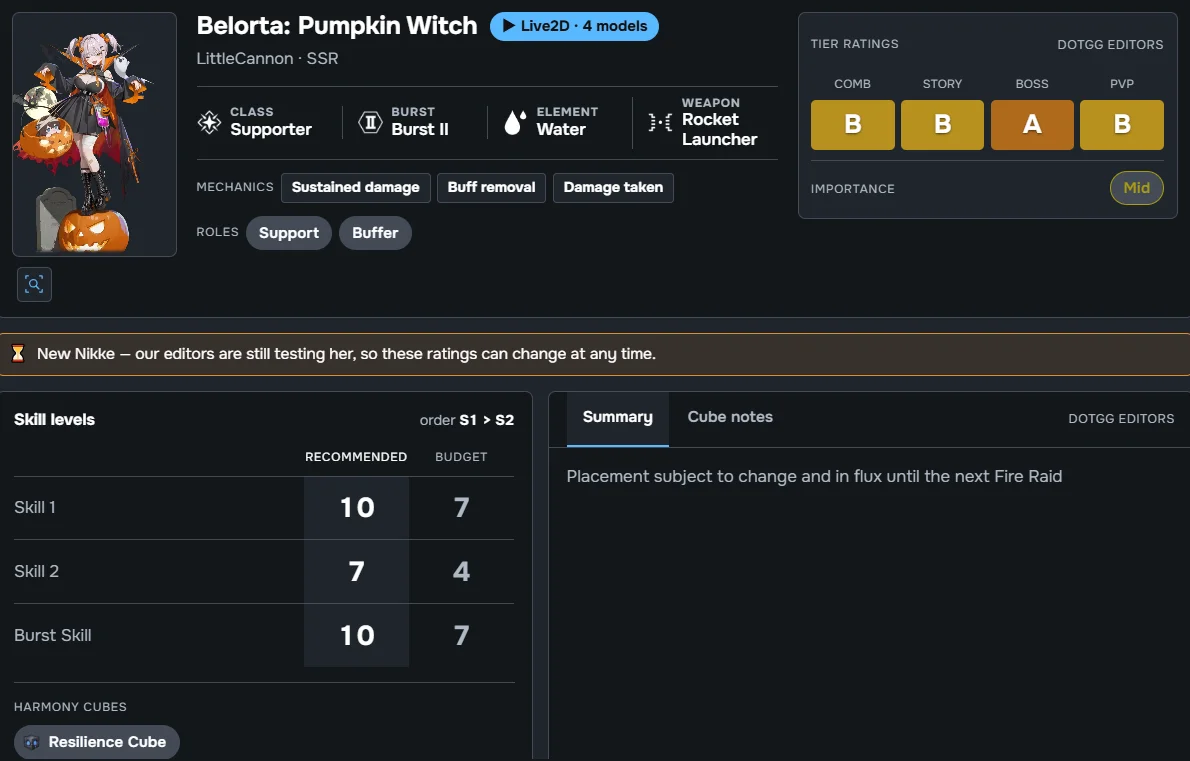
The recommended Belorta: Pumpkin Witch build for most players is 7/4/7 skills, the Resilience Cube, and a Rocket Launcher Collection Item. Avoid spending heavily on Overload rerolls unless she is supporting one of your main raid teams.
Belorta is a specialized Water-code Burst II Supporter who strengthens the ally positioned directly to her right. Her value comes from targeted ATK and Sustained Damage buffs rather than personal damage. Place her in slots 1–4, position your main Sustained Damage dealer immediately to her right, and bring another Burst II unit to cover her 40-second cooldown.
| Build category | Recommendation |
|---|---|
| Role | Single-target offensive Supporter |
| Early skill levels | 2004/4/4 |
| Recommended skill levels | 2007/4/7 |
| High-investment target | 2007/7/10 |
| General skill priority | Burst > Skill 1 > Skill 2 |
| Best Harmony Cube | Resilience Cube |
| Collection Item | Rocket Launcher Doll |
| Overload priority | ATK; Max Ammo and Charge Speed are secondary |
| Best content | Boss battles, Solo Raid and multi-team content |
| Best teammates | Sustained Damage DPS units |
| Required position | Immediately left of the intended carry |
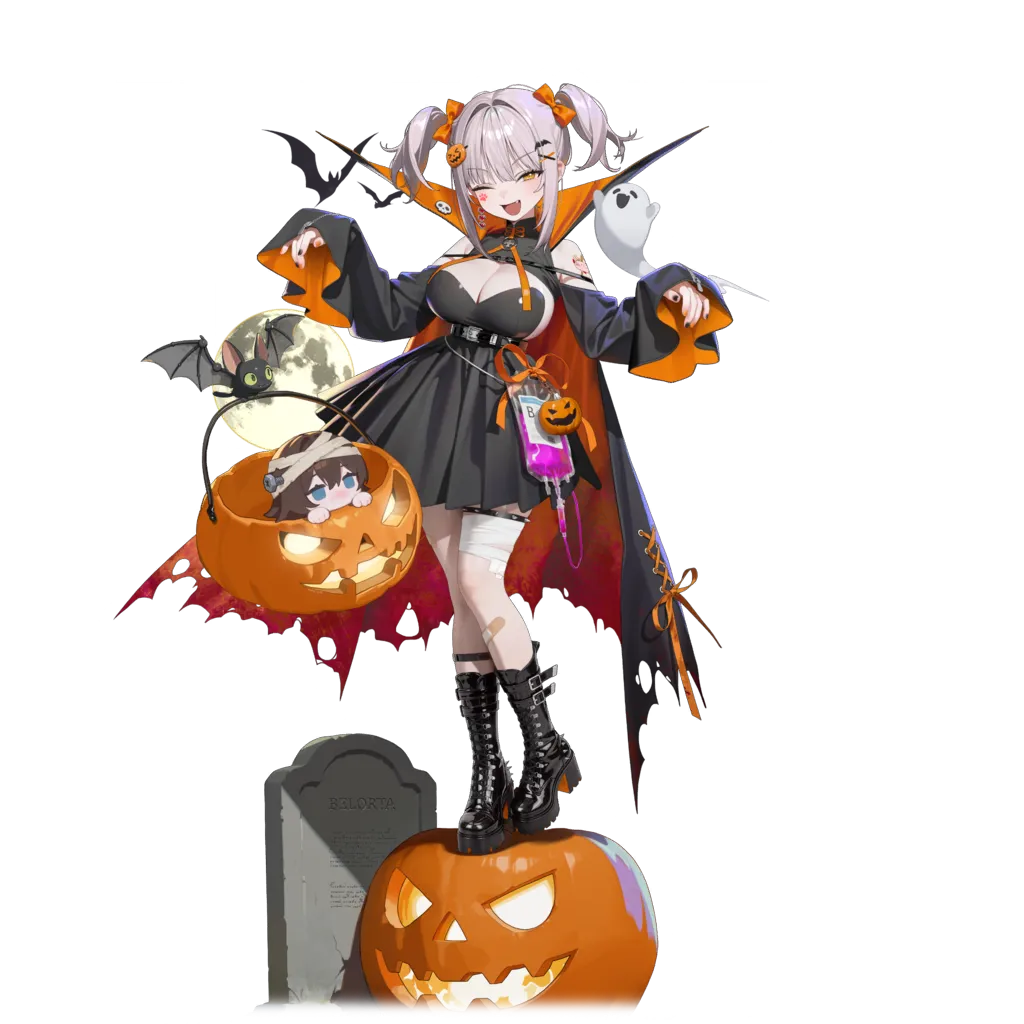
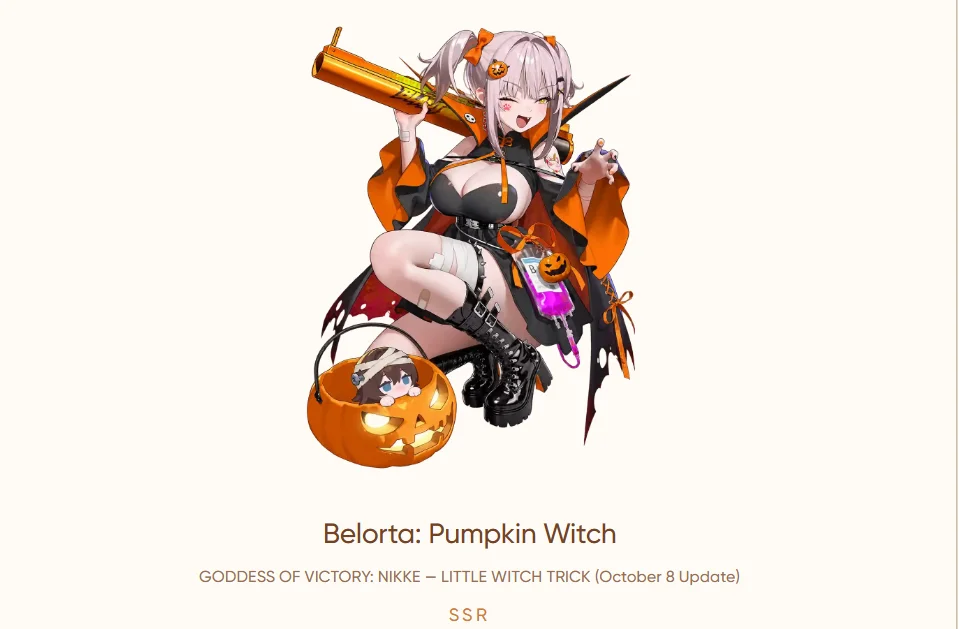 The official October 8 update introduced Belorta: Pumpkin Witch as an SSR Water-code Supporter equipped with the Candy Shot Rocket Launcher. Her Special Recruit runs from October 8 to October 28, 2026. She is scheduled to enter several permanent recruitment pools after the banner ends.
| Character information | Details |
|---|---|
| Rarity | SSR |
| Class | Supporter |
| Code | Water |
| Weapon | Candy Shot — Rocket Launcher |
| Burst Type | Burst II |
| Burst cooldown | 40 seconds |
| Manufacturer | Tetra Line |
| Squad | Little Cannon |
 Belorta is not a universal buffer. Most of her offensive effects apply to only one teammate—the unit immediately to her right.
This restriction makes formation order part of her build. If Belorta occupies slot 5, there is no character to her right, so the targeted portion of her kit loses its value. She should normally occupy slots 1–4, with the team’s primary Sustained Damage dealer in the following slot.
Her 40-second Burst cooldown also means she cannot independently maintain a standard Burst rotation. A second Burst II character is generally required unless Belorta is being used without activating her Burst.
Assume the squad is displayed from slot 1 to slot 5:
| Slot 1 | Slot 2 | Slot 3 | Slot 4 | Slot 5 |
|---|---|---|---|---|
| Burst I | Belorta | Main DPS | Second Burst II | Flexible DPS |
In this example, Belorta’s targeted buffs go to the character in slot 3.
The game does not automatically redirect those effects to the strongest attacker. They are determined by formation position. A powerful team can therefore perform poorly if the intended carry is two slots away from Belorta.
Before entering a boss battle:
The following percentages are based on Level 10 skills. Lower skill levels provide reduced values.
When the squad enters Full Burst, Belorta gains two temporary effects:
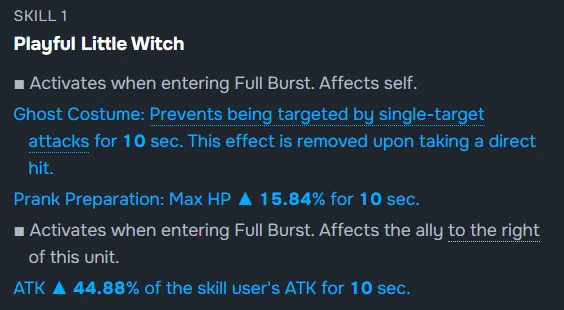
The important detail is that Skill 1 activates when the team enters Full Burst. Belorta does not necessarily need to use her own Burst Skill to trigger this part of her kit. This allows her to function as an off-Burst buffer in teams that already have another Burst II rotation.
Belorta’s Full Charge attacks activate two different effects:
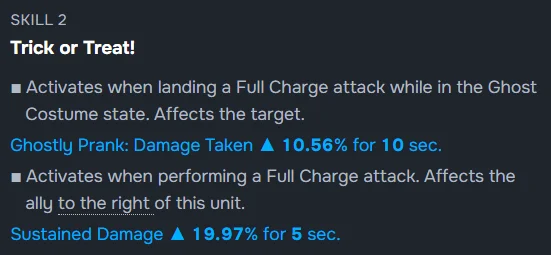
This skill rewards deliberate Full Charge attacks. Rapid, uncharged Rocket Launcher shots can help generate Burst energy, but they do not maintain her Sustained Damage buff.
During an important damage window, prioritize Full Charge hits so the carry receives the Skill 2 bonus.
Belorta’s Burst applies the following effects to the ally directly to her right:
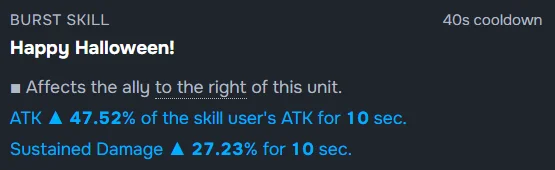
These effects can overlap with the buffs from Skills 1 and 2, creating a strong single-target support window. The tradeoff is the Burst’s 40-second cooldown, which prevents Belorta from serving as the team’s only Burst II unit in a normal rotation.
Current build recommendations differ because Belorta can be used either as an active Burst support or as an off-Burst buffer. A single skill target does not suit every formation. Post-release guides generally recommend either an efficient 7/4/7 stopping point or a more expensive 7/7/10 setup for dedicated teams.
| Investment level | Skill 1 / Skill 2 / Burst | Best use |
|---|---|---|
| Early build | 2004/4/4 | Testing her teams without committing many manuals |
| Efficient build | 2007/4/7 | General boss and raid support |
| High investment | 2007/7/10 | Dedicated Sustained Damage team |
| Off-Burst setup | Prioritize Skill 1, then Skill 2 | Another Burst II is used every rotation |
For most players, 7/4/7 is the sensible target. It improves her main ATK buffs while limiting investment in Skill 2.
Raise her toward 7/7/10 only when she consistently supports one of your strongest raid carries. Skill 2 becomes more valuable when Belorta regularly lands Full Charge attacks and the supported DPS gains significant value from Sustained Damage.
The Resilience Cube is the safest general recommendation. Belorta’s Rocket Launcher has a two-second reload, so additional reload speed reduces downtime and makes it easier to maintain Full Charge attacks for Skill 2.
It also helps when using quick shots to generate Burst energy between important damage windows.
| Harmony Cube | When to use it |
|---|---|
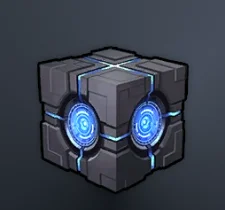 Resilience Cube | Best default option for smoother reloads |
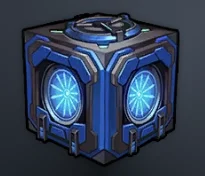 Bastion Cube | Useful when ammunition uptime is a larger problem than reload speed |
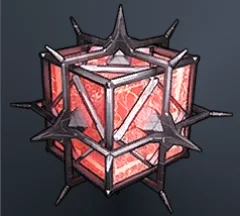 Destruction Cube | Situational option against bosses with multiple breakable parts |
Belorta is a support character, so Cube levels should normally go to your main damage dealers first. An alternative Cube may work for a specific boss, but it rarely changes her main job: buffing the character immediately to her right.
Belorta performs her main function without perfect Overload equipment. For an efficient build:
Belorta performs best with characters whose damage is classified as Sustained Damage. The following are example post-release compositions rather than mandatory teams.
| Position | Character |
|---|---|
| 1 | Liter |
| 2 | Belorta: Pumpkin Witch |
| 3 | Mihara: Bonding Chain |
| 4 | Flora |
| 5 | Raven |
Mihara stands directly to Belorta’s right and receives her targeted buffs.
One possible rotation is:
| Position | Character |
|---|---|
| 1 | Liter |
| 2 | Belorta: Pumpkin Witch |
| 3 | Bready |
| 4 | Flora |
| 5 | Mihara: Bonding Chain |
This formation places Bready directly to Belorta’s right. Belorta concentrates her ATK and Sustained Damage bonuses on Bready, while Flora helps maintain the Burst rotation.
Other potential partners include Diesel: Winter Sweets and Sakura: Bloom in Summer. The exact lineup should still be adjusted for the boss element, survivability requirements and available Burst cooldown reduction.
If you decide to recruit her, check your Advanced Recruit Vouchers and Gold Mileage before purchasing additional currency. Players who still need Gems can use the UUTOP NIKKE top-up page.
TOP UP NIKKE ON UUTOP
The Resilience Cube is the best general option because it reduces reload downtime. Bastion can help with ammunition uptime, while Destruction is situational against multi-part bosses.
ATK is the priority for a high-investment build. Max Ammo and Charge Speed are secondary options. Budget players should avoid expensive rerolls and invest in their main DPS first.
Usually, yes. Her Burst has a 40-second cooldown, so another Burst II unit is needed to maintain a normal rotation. She can also operate as an off-Burst buffer in certain teams.
