
60 Genesis Crystals
$1.07
Buy
 EN


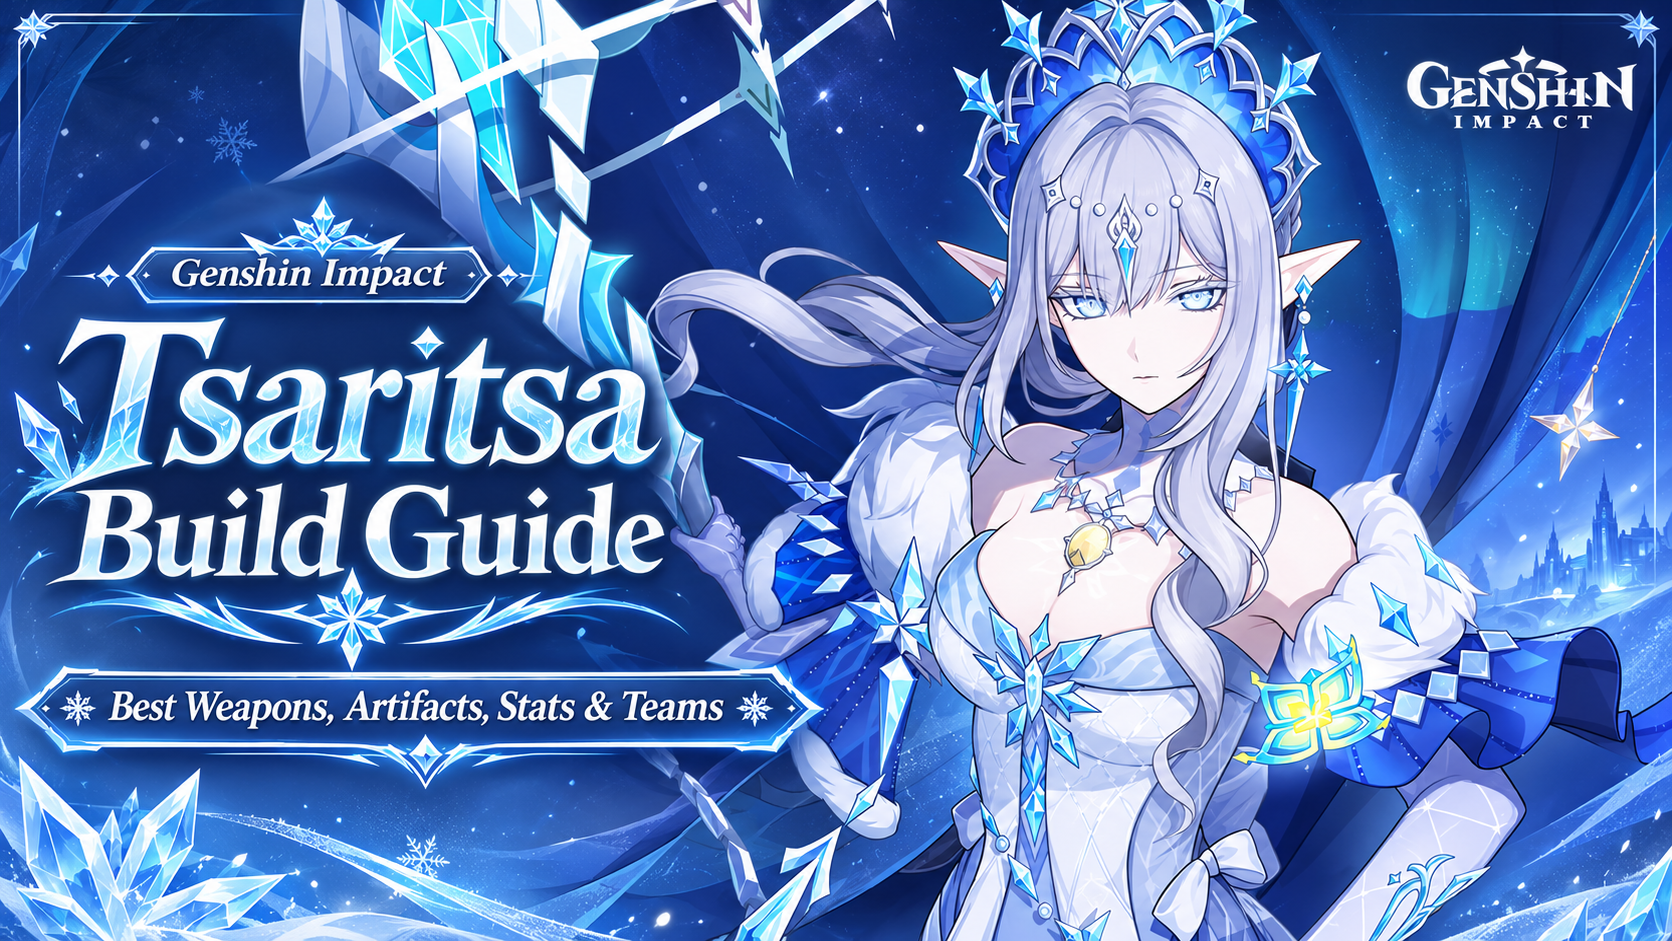
The Tsaritsa, Anastasya, is expected to debut in Genshin Impact Version 7.3 as a 5-star Cryo Bow character. Holding her Elemental Skill enables an on-field DPS playstyle, while tapping it lets her provide off-field damage and team buffs. This flexibility gives her two distinct roles in Snezhnaya's Stellar Glimmer teams.
Planning to pull the Tsaritsa or get her signature weapon too? Start saving Primogems and Intertwined Fates. If you need a few more wishes, you can top up Genesis Crystals through UUTOP Genshin Impact top-up to prepare for your preferred character and weapon.
 Genshin Impact
Notice: Abilities and equipment recommendations may change before release.
| Category | On-Field DPS | Off-Field Support |
|---|---|---|
| Activation | Hold Elemental Skill | Tap Elemental Skill |
| Main Role | Enhanced attacks, Burst damage, and unsealing attacks | Off-field Cryo application, Stellar Glimmer buffs, and additional damage |
| Recommended Weapon | Silverdawn | Breezeborne Refrain |
| Artifact Set | 4-Pc Epochal Advent | 4-Pc Heart of the Furnace |
| Key Stats | CRIT, ATK, and sufficient Energy Recharge | Burst uptime, ATK, and personal damage stats |
Holding her Elemental Skill puts Anastasya into her on-field damage stance, replacing her regular bow attacks with enhanced Cryo spear attacks. These attacks scale with her Elemental Skill level, so her Talent investment differs from a conventional Bow DPS who prioritizes Normal Attacks.
Her Elemental Burst Seals her teammates. Subsequent attacks shorten their Sealing duration, allowing her to follow up with special unsealing attacks. Activate your teammates' buffs and off-field abilities before bringing her on field.
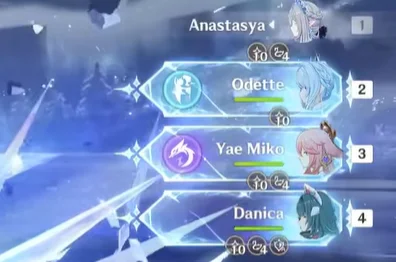
The basic sequence is:
Team buffs and elemental application → Hold Skill → Elemental Burst → Enhanced attacks → Unsealing attacks.
Tapping her Elemental Skill summons the Palestar Crown, which follows the active character and attacks nearby enemies. This playstyle lets the Tsaritsa provide off-field Cryo damage and Stellar Glimmer buffs while another character stays on field.
Switching her out after using her Burst Seals her. Stellar Glimmer reaction damage dealt by teammates shortens this duration. Once the Seal ends, switching back to her can trigger an additional special attack.
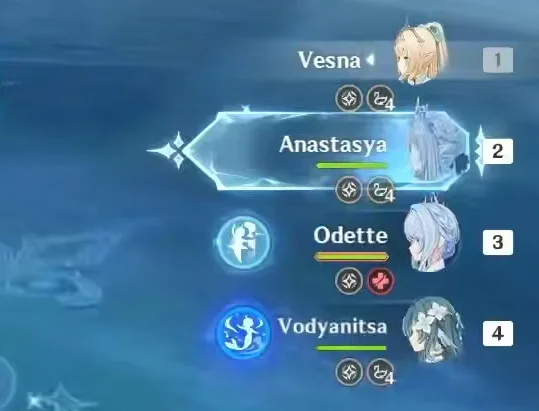
The basic sequence is:
Team setup → Tap Skill and Burst → Main DPS damage window → Switch back after Sealing ends.
| Weapon | Best Use | Why It Works |
|---|---|---|
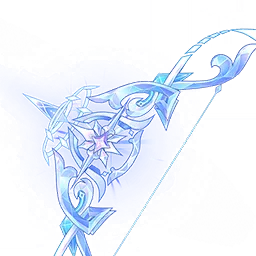 Silverdawn | Signature weapon for on-field and off-field damage | Provides ATK, CRIT DMG, Stellar Glimmer reaction CRIT DMG, and Energy restoration |
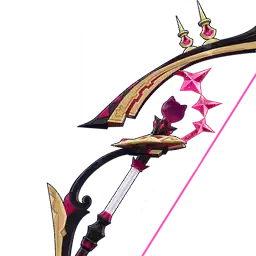 The First Great Magic | On-field DPS | Provides high CRIT DMG and gains additional ATK value from teammates of the same element |
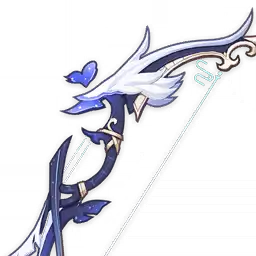 Aqua Simulacra | On-field or off-field damage | Provides high CRIT DMG, particularly when Artifacts and teammates already supply enough ATK |
 Elegy for the End | Off-field support | Provides Energy Recharge and grants teamwide ATK and Elemental Mastery buffs after activating its passive |
Silverdawn suits players who want to increase the Tsaritsa's personal damage. For an off-field support build, compare the overall team value of Elegy for the End and other support weapons.
| Weapon | Best Use | Why It Works |
|---|---|---|
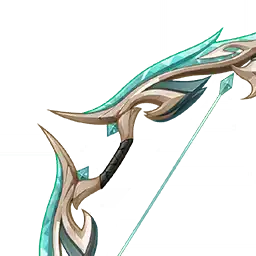 Breezeborne Refrain | Off-field support | Provides CRIT Rate, Energy Recharge, and a teamwide Stellar Glimmer damage buff |
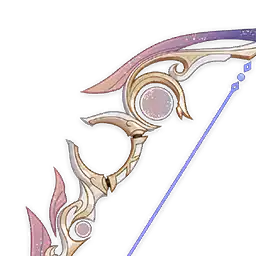 Jade Vista | Personal damage | A Battle Pass weapon that provides CRIT Rate and grants ATK or Elemental Mastery based on the team's elemental composition |
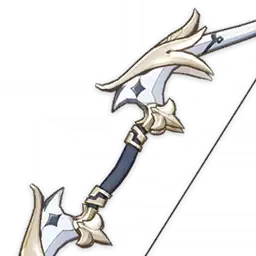 Favonius Warbow | Team Energy support | Helps maintain rotations by generating particles when the wielder scores a CRIT hit |
 Slingshot | Early progression | A 3-star weapon with 31.2% CRIT Rate at Level 90, although its low Base ATK needs support from Artifacts and teammates |
Breezeborne Refrain focuses on team damage, while Favonius Warbow helps with Energy requirements. If you do not have a suitable damage weapon, Slingshot can serve as a temporary option without immediately pulling for her signature.
When using Slingshot with Epochal Advent, check your effective CRIT Rate to avoid overcapping once the set bonus activates.
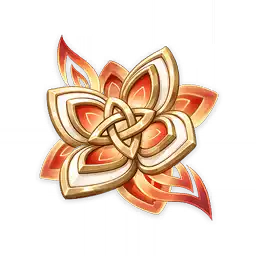
The four-piece Epochal Advent effect grants one Starspark when the wearer uses an Elemental Skill, uses an Elemental Burst, or performs a Normal Attack. Up to two Starsparks can be held.

Heart of the Furnace suits Stellar Glimmer teams where another character deals most of the damage.
When the wearer triggers a Stellar Glimmer reaction or deals Stellar Glimmer reaction damage, the set increases their ATK and grants the team 50% Stellar Glimmer reaction DMG Bonus. These effects can activate off field.
The team damage bonus does not stack with another copy of the same set. If Odette or another teammate already uses it, redistribute your equipment and consider a personal damage set or another support set for the Tsaritsa.
| Artifact Set | Best Use | Conditions |
|---|---|---|
 4-Pc Disenchantment in Deep Shadow | Stellar-Conduct damage | The team consistently maintains Superconduct or Stellar-Conduct conditions |
 4-Pc Tenacity of the Millelith | ATK support | Repeated Skill hits maintain the team ATK buff |
| 2-Pc ATK + 2-Pc ATK | Transitional damage build | You already have pieces with the correct main stats and strong CRIT substats |
Disenchantment in Deep Shadow provides Stellar-Conduct damage and conditional CRIT Rate, making it suitable for Cryo–Electro teams. If you already have a strong set, use it rather than sacrificing substantial substat quality just to change sets.
Until you complete a four-piece set, an ATK 2-Pc combination works as a transition. Prioritize correct main stats and a functional rotation before replacing individual pieces.
| Slot | On-Field DPS | Off-Field Support |
|---|---|---|
 Sands | ATK% | ATK%; Energy Recharge if needed for consistent rotations |
 Goblet | ATK% preferred; Cryo DMG Bonus as an alternative | ATK% |
 Circlet | CRIT Rate / CRIT DMG | CRIT Rate / CRIT DMG; ensure sufficient CRIT Rate when using Favonius Warbow |
Stellar Glimmer reaction damage does not directly use conventional Elemental DMG Bonuses. An ATK% Goblet is therefore generally the stronger starting point when Stellar Glimmer accounts for a large share of the team's damage.
On-field DPS:
CRIT Rate / CRIT DMG > ATK% > sufficient Energy Recharge > Elemental Mastery.
Off-field support:
Meet her Burst uptime and ATK requirements first, then add CRIT Rate, CRIT DMG, and Elemental Mastery.
When using Favonius Warbow, CRIT Rate also affects particle generation, so do not focus exclusively on ATK and Energy Recharge.
Her current passive increases the base damage of the relevant reactions by 0.7% for every 100 ATK, up to 14%. This particular bonus reaches its cap at 2,000 ATK, although additional ATK still increases her personal damage.
With Epochal Advent, 60% displayed CRIT Rate plus both set bonuses brings qualifying Cryo Stellar Glimmer damage to 100% effective CRIT Rate. Ordinary Cryo damage receives only the first 20% bonus. Include any additional CRIT Rate buffs from teammates in your calculation.
| Talent | On-Field DPS | Off-Field Support |
|---|---|---|
 Elemental Burst | Highest priority | Highest priority |
 Elemental Skill | Second priority | Second priority |
 Normal Attack | Upgrade last | Can be left unleveled |
Her enhanced spear attacks scale with her Elemental Skill level. Even though her on-field playstyle frequently uses Normal Attack inputs, you do not need to prioritize her Normal Attack Talent.
 Anastasya |  Danica |  Mitya |  Odette |
This team uses the Tsaritsa as its on-field DPS and focuses on Stellar-Conduct.
Danica provides Electro support, buffs, and defensive utility. Mitya adds Electro damage and application, while Odette contributes off-field Cryo damage and Stellar Glimmer support.
Activate your teammates' buffs and off-field abilities before using the Tsaritsa's Hold Skill, Burst, and enhanced attacks. Prepare any abilities that require switching characters before entering the Sealing phase.
 Sandrone |  Anastasya |  Danica |  Yae Miko |
Sandrone takes the field in this team, while the Tsaritsa uses her off-field support playstyle.
Yae Miko provides sustained off-field Electro application, Danica supplies buffs and defensive support, and the Tsaritsa uses her Tap Skill and Burst to strengthen Sandrone's Stellar Glimmer damage.
This composition suits players who already have a built Sandrone and want the Tsaritsa to improve their existing team.
 Vesna |  Anastasya |  Odette |  Vodyanitsa |
Vesna stays on field in this Stellar Swirl team.
The Tsaritsa and Odette provide Cryo application and Stellar Glimmer support, while Vodyanitsa contributes healing and team buffs. The Tsaritsa uses her off-field playstyle to preserve Vesna's damage window.
Set up healing, buffs, and off-field Cryo application, then use the Tsaritsa's Tap Skill and Burst before switching to Vesna. Maintain enough Cryo application on enemies to trigger the intended reactions consistently.
 Anastasya |  Alyosha |  Cryo Traveler |  Diona |
This team uses the Tsaritsa as its main DPS, with the remaining slots filled by 4-star characters and the Traveler.
Alyosha provides Electro application and Stellar-Conduct buffs, Cryo Traveler adds Cryo application and reaction support, and Diona provides shielding and healing.
Depending on your roster, Alyosha can be replaced by Fischl or Beidou. When using Beidou, replace Diona with Sucrose to form Anastasya + Beidou + Cryo Traveler + Sucrose.
Beidou provides off-field Electro damage, damage reduction, and interruption resistance, with an additional shield at C1. Sucrose contributes grouping and Elemental Mastery buffs.
| Constellation | Main Benefit | Investment Value |
|---|---|---|
 C1 | Improves buff sharing and adds ATK for Cryo characters or Elemental Mastery for characters of other elements | Stronger team support |
 C2 | Strengthens her on-field damage and off-field Stellar Glimmer buffs, with an additional reaction damage improvement | A notable stopping point for additional investment |
 C6 | Significantly improves special unsealing attacks and Stellar Glimmer damage | High-budget investment |
C2 benefits both playstyles. Her off-field mode improves the team's Stellar Glimmer reaction CRIT DMG, while her on-field mode strengthens her main attacks and Burst damage. This makes it more broadly useful than an upgrade focused on only one role.
Its value still depends on your roster. If you are missing important teammates, completing the team will usually improve overall performance more than immediately pursuing higher Constellations. Players with an established Stellar Glimmer team can consider C2 afterward.
TOP UP GENSHIN IMPACT ON UUTOP
She can play both roles. Hold her Skill for on-field damage or tap it for off-field support.
Yes. You can initially share an ATK and CRIT build. For further optimization, prioritize Epochal Advent on field, or consider Heart of the Furnace and a support weapon off field, depending on your teammates
At 2,000 ATK, she reaches the cap of her current reaction-buffing passive. Treat it as a reference point while balancing Energy Recharge and CRIT.
Her Burst Seals either herself or her teammates, depending on her playstyle. Use the corresponding attacks to shorten Sealing, then switch characters or perform special unsealing attacks when it ends.
Build the Tsaritsa around her role in your team. For on-field damage, prioritize her Skill and Burst alongside damage-focused weapons and Artifacts. To support an existing main DPS, focus more on team buffs, Energy requirements, and Artifact set distribution.
Good luck pulling for the Tsaritsa, Travelers!
Violet is a gaming content writer specializing in HoYoverse titles, gacha games, and popular live-service games. From character builds and update guides to in-game currency explanations, Violet turns complex information into clear, practical advice. With a strong focus on accuracy, value, and player needs, each guide is designed to help players save time, manage resources wisely, and enjoy a smoother gaming experience.


